
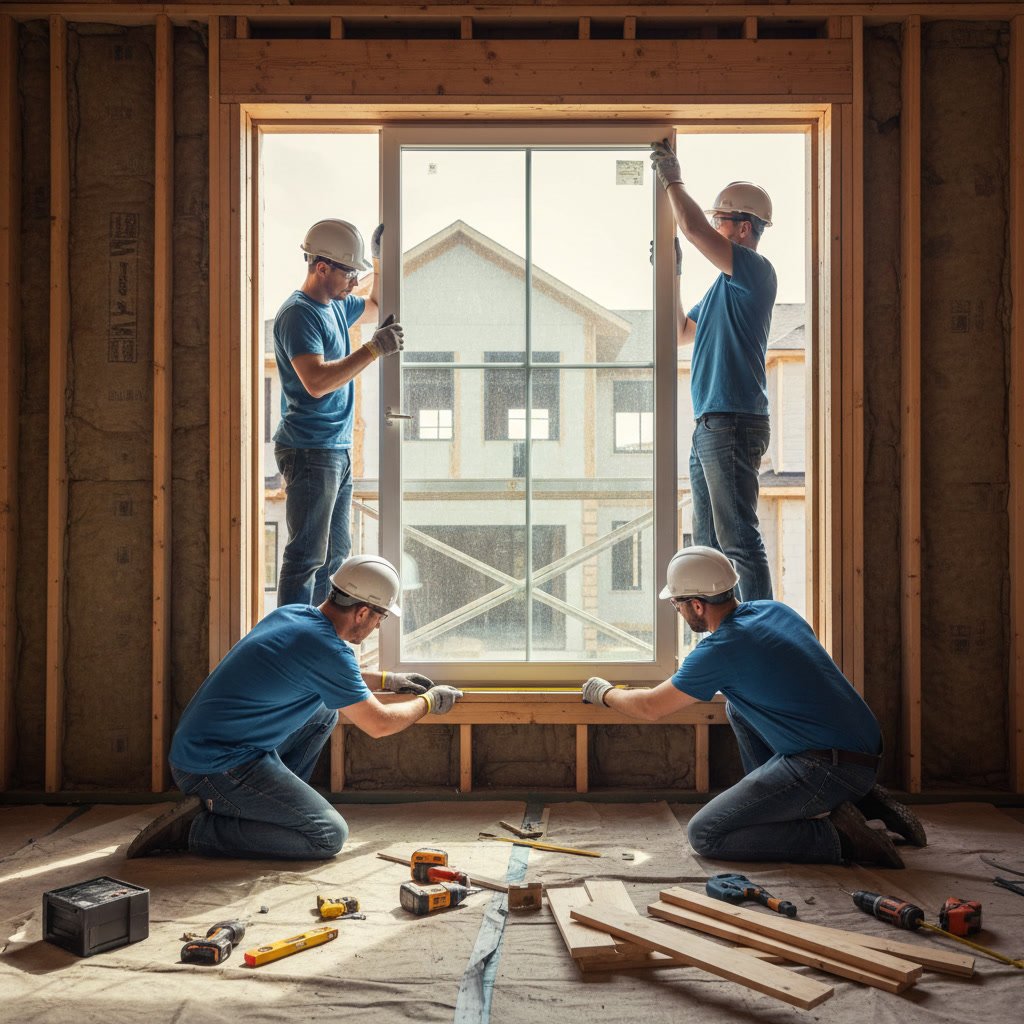
Understanding how window installation works begins with the measurement phase, progresses through preparation and removal of old units, continues with careful installation and sealing, and concludes with a detailed final walkthrough to verify performance. Each step requires precision to ensure the new windows deliver energy efficiency, weather resistance, and long-term durability.
For homeowners planning a window project, knowing what happens at each stage removes uncertainty and helps you prepare your home and schedule. The process typically spans several hours to multiple days depending on the number of units and any structural adjustments required.
Why Accurate Measurement Sets the Foundation
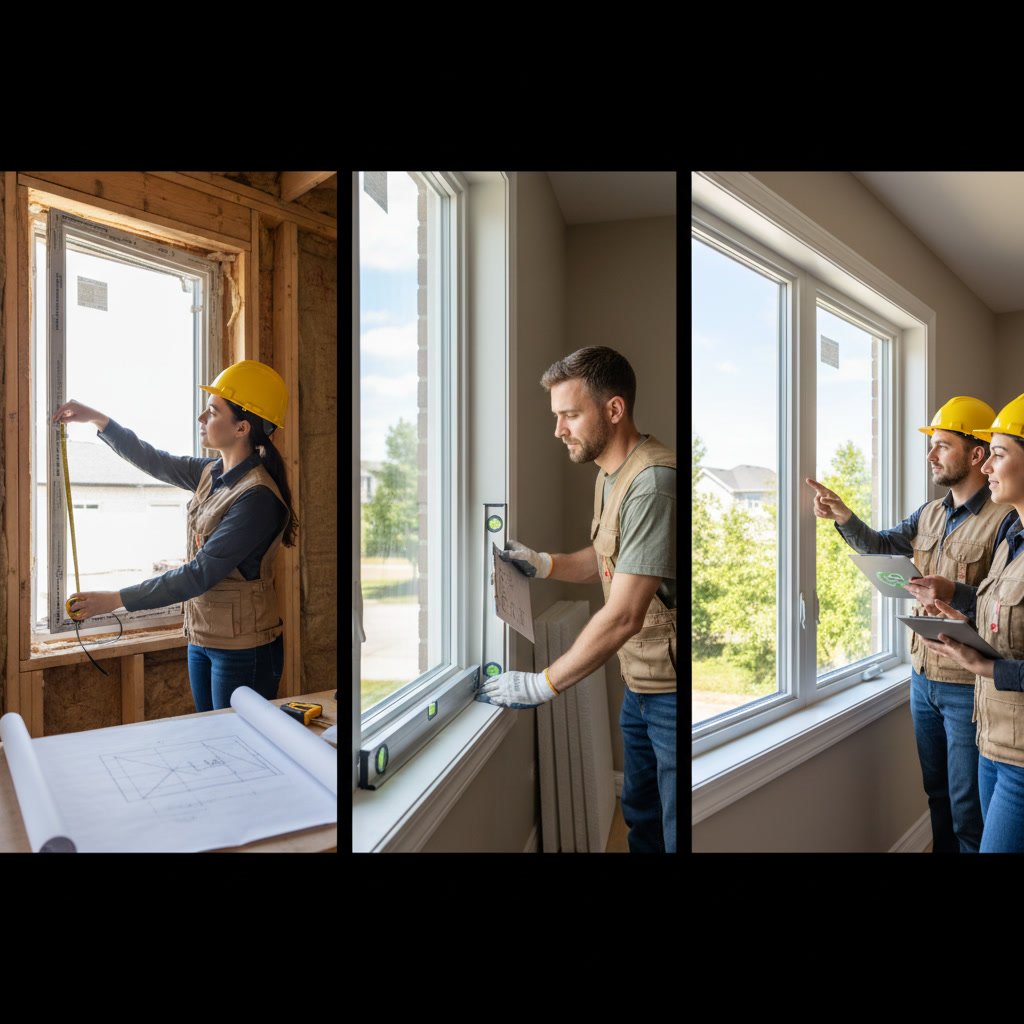
The first visit to your home focuses entirely on dimensions and existing conditions. A professional installer measures the rough opening, not just the visible window frame. This distinction matters because the rough opening is the structural space in the wall, while the existing frame may have settled, warped, or been installed incorrectly years ago.
Measurements are taken at multiple points across the width and height. Windows in older homes rarely form perfect rectangles. The smallest measurement in each direction becomes the basis for ordering or fabricating the new unit, ensuring it fits without forcing or excessive shimming.
During this stage, the installer also checks the condition of the surrounding structure. Rotted framing, water damage, or missing flashing are noted and discussed. These issues must be addressed before new windows go in, or the same problems will return within months.
Choosing the Right Window Type for Your Home
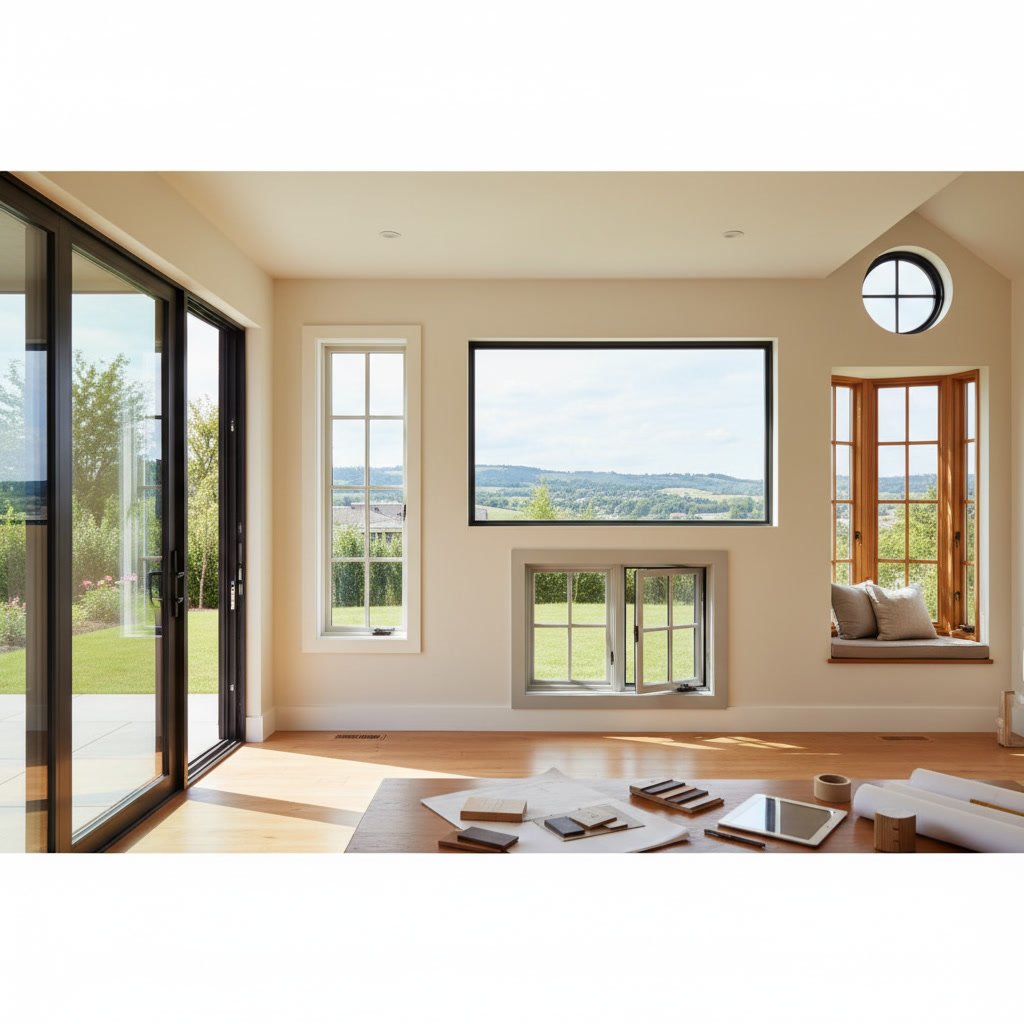
After measurements are confirmed, you select the window style, frame material, and glass package. Double-hung, casement, slider, and picture windows each offer different ventilation patterns and visual appeal. Frame materials include vinyl, fiberglass, wood, and composite, each with distinct maintenance requirements and lifespan.
Glass options range from standard dual-pane units to low-emissivity coatings, argon or krypton gas fills, and triple-pane assemblies. In the Pacific Northwest, where rain is frequent and heating costs are a concern, low-E coatings and quality weather seals deliver measurable energy savings over the life of the window.
Once you approve the specifications, the order is placed. Lead times vary from a few days for stock sizes to several weeks for custom dimensions or specialty materials.
Preparing Your Home Before Installation Day
Before the crew arrives, clear the area around each window inside and out. Move furniture, curtains, and decorations at least three feet away. Remove wall hangings and fragile items from nearby surfaces, as vibration from removal work can cause them to shift or fall.
Exterior preparation includes trimming plants and shrubs away from the work zone. Installers need unobstructed access to the outside of each opening. If ladders or scaffolding are required, the ground must be stable and clear.
Communicate with household members about the schedule. Installation creates noise, dust, and temporary loss of privacy as old units are removed. Pets should be secured in a separate room, and young children benefit from being out of the work area.
Removing Old Windows Without Damaging Walls
The removal process begins by carefully detaching interior stops and trim. These pieces are often reusable if removed with patience. Once exposed, the old window sash is lifted out and the frame is cut or pried free from the rough opening.
Experienced installers watch for hidden fasteners, caulk, and expanding foam that previous workers may have used. Rushing this step risks damaging the surrounding drywall, siding, or structural framing. A skilled crew takes the time to separate old materials cleanly.
After removal, the rough opening is inspected again. Any soft wood, mold, or compromised flashing is addressed before the new unit is introduced. This is the only opportunity to correct hidden problems that measurements and visual inspections cannot reveal.
Installing and Leveling the New Unit
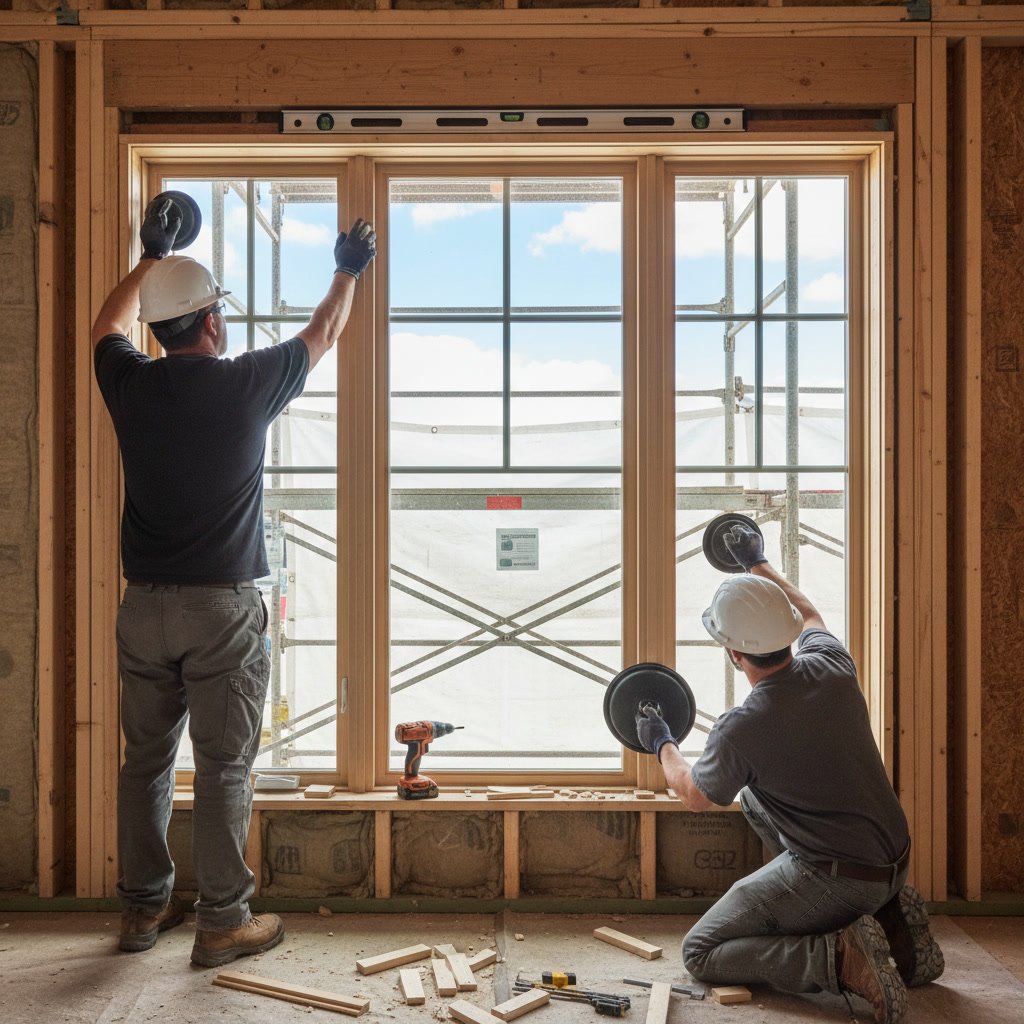
The new window is set into the rough opening and temporarily supported while the installer checks for level and plumb. Shims are placed at strategic points around the frame to hold it in position without bowing or twisting the unit. Over-shimming can warp the frame and prevent smooth operation, while under-shimming leaves gaps that allow air and water infiltration.
Fasteners are driven through the frame into the structural framing at intervals specified by the manufacturer. These fasteners must penetrate solid wood or metal studs, not just drywall or sheathing. Proper fastening resists wind loads and prevents the window from shifting over time.
Once secured, the installer operates the sash or panels to confirm smooth movement and proper locking. Any binding or resistance indicates a problem with alignment that must be corrected before sealing begins.
Sealing and Insulating for Weather Protection in Bellevue
After the unit is fastened and verified, the gaps between the window frame and the rough opening are filled with low-expansion foam insulation. High-expansion foam can bow the frame and cause operational problems, so professionals use products designed for window and door installations.
Exterior sealing involves applying a continuous bead of high-quality caulk or sealant around the perimeter where the window meets the siding or trim. This barrier prevents wind-driven rain from entering the wall cavity. In Bellevue and surrounding areas, where heavy rain and wind are common, this step is critical to long-term performance.
Interior gaps are also sealed, though the product used may differ. Some installers use backer rod and caulk, while others rely solely on foam. The goal is to create an airtight boundary that stops drafts and improves energy efficiency without trapping moisture inside the wall.
Reinstalling or Replacing Trim and Finishes
Once sealing is complete, interior and exterior trim is installed. If the original trim was removed intact and remains in good condition, it can be reinstalled. Often, however, new trim is chosen to update the appearance or accommodate a different window depth.
Trim serves both aesthetic and functional roles. It covers the gap between the window frame and the wall finish, and it helps secure the unit by providing additional attachment points. Properly mitered corners and tight joints give a clean, finished look that reflects the quality of the overall installation.
Paint or stain is applied to new trim as needed. Some homeowners prefer to handle finishing themselves, while others include it in the installation contract. Coordination on this detail should happen before work begins to avoid misunderstandings.
Step by Step Walkthrough of Quality Checks
Before the crew packs up, a series of quality checks are performed. The installer verifies that each window opens, closes, and locks smoothly. Screens are installed and checked for proper fit. Weather stripping is inspected for gaps or misalignment.
Water testing is one of the most valuable checks, though not every installer performs it. A hose is used to simulate rain on the exterior while an assistant inside watches for leaks. This test reveals sealing problems immediately, when they are easy to fix, rather than months later during the first storm.
The area is cleaned of debris, old materials are removed, and protective coverings are taken up. The goal is to leave your home as clean as it was found, with only the new windows as evidence of the work.
What to Expect During the Final Walkthrough
The final walkthrough is your opportunity to ask questions and confirm that every detail meets your expectations. The installer will demonstrate how to operate each window, adjust locks, remove and reinstall screens, and access any tilt features for cleaning.
You should receive care and maintenance instructions, warranty information, and contact details for future service. Understanding what is covered under warranty and what maintenance you are responsible for prevents confusion if problems arise later.
This is also the time to note any concerns. If a window feels stiff, a seal looks uneven, or trim joints are not tight, point them out before the crew leaves. Reputable installers address these issues immediately rather than requiring a callback.
How Long the Installation Process Takes
A single window replacement in good conditions typically takes two to four hours. Larger projects involving multiple windows can span one to three days depending on the number of units, accessibility, and any structural repairs required.
Delays can occur if hidden damage is discovered, weather turns severe, or custom parts do not arrive on schedule. A professional crew communicates these issues as soon as they are identified and works with you to adjust the timeline.
Patience during the process pays off. Rushing installations to meet an artificial deadline increases the risk of mistakes that compromise performance and longevity.
Getting the Most from Your New Windows
Understanding the installation process helps you make informed decisions, prepare your home properly, and know what quality work looks like at each stage. Whether you need a single unit replaced or a whole-home window upgrade, the steps remain consistent and the attention to detail remains essential.
Professional installation ensures your new windows deliver the energy savings, comfort, and curb appeal you expect. The difference between an average installation and an excellent one often comes down to the care taken in sealing, leveling, and verifying performance before the crew leaves.
PNW Prestige Exteriors brings experience and precision to every window installation project, from the first measurement through the final walkthrough. Our team understands the demands of Pacific Northwest weather and builds every installation to last. If you are ready to upgrade the windows in your home with a crew that values quality and clear communication, reach out at (253) 632-8746 to schedule a consultation.